
Showing posts with label Kid's Activities. Show all posts
Showing posts with label Kid's Activities. Show all posts
Tuesday, May 29, 2012


Weather Experiment

Yard Art

Yarn Hearts
Yarn Hearts
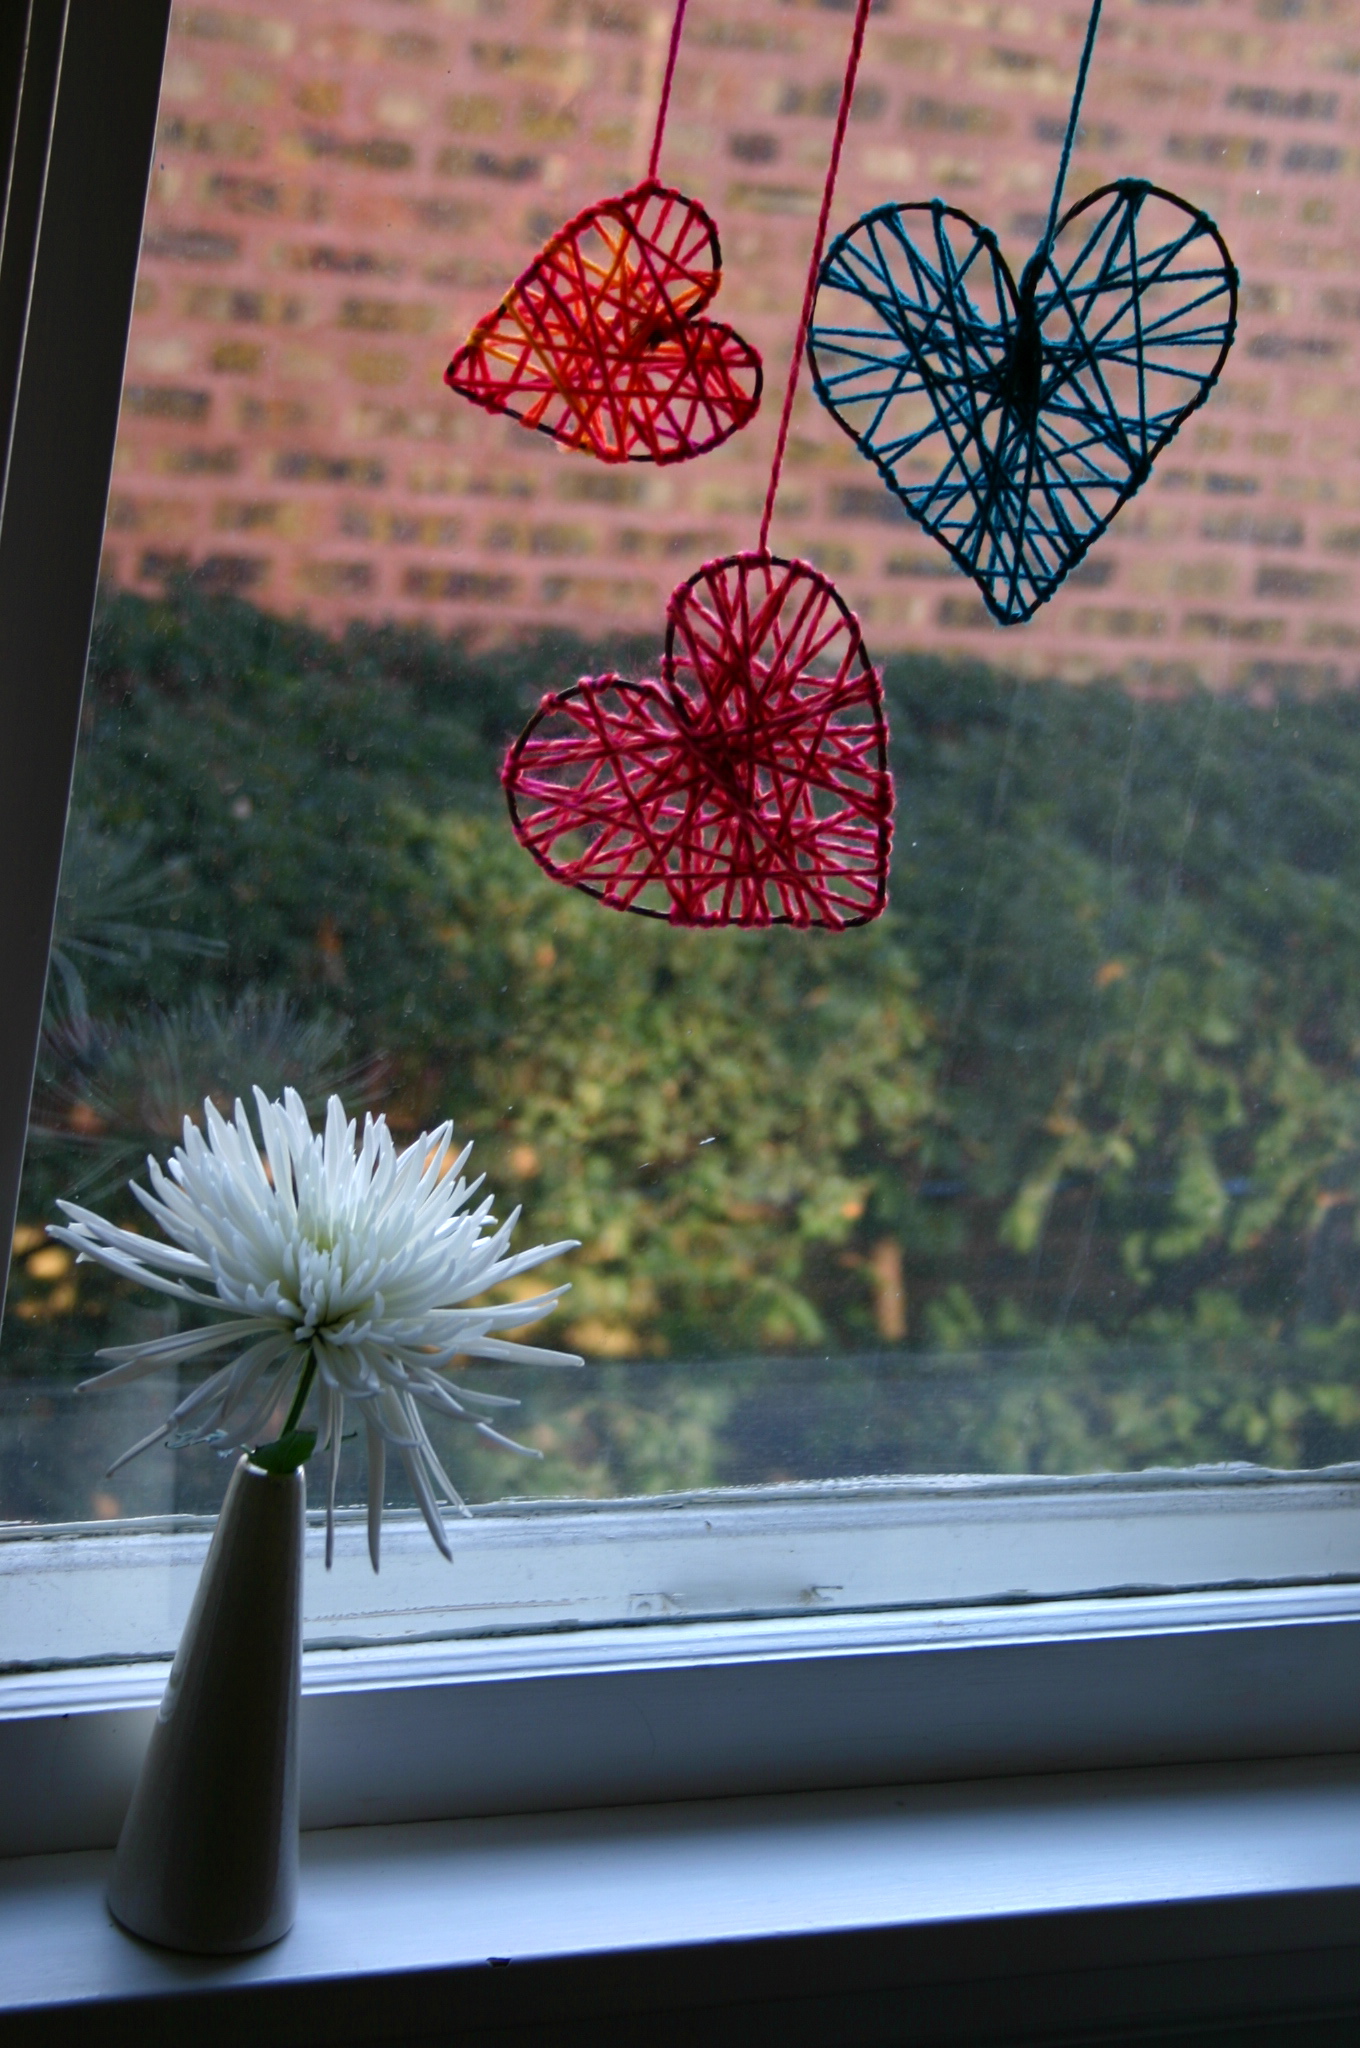
Hearts made from rustic floral wire are wrapped with yarn and hung in the window for Valentine's Day.
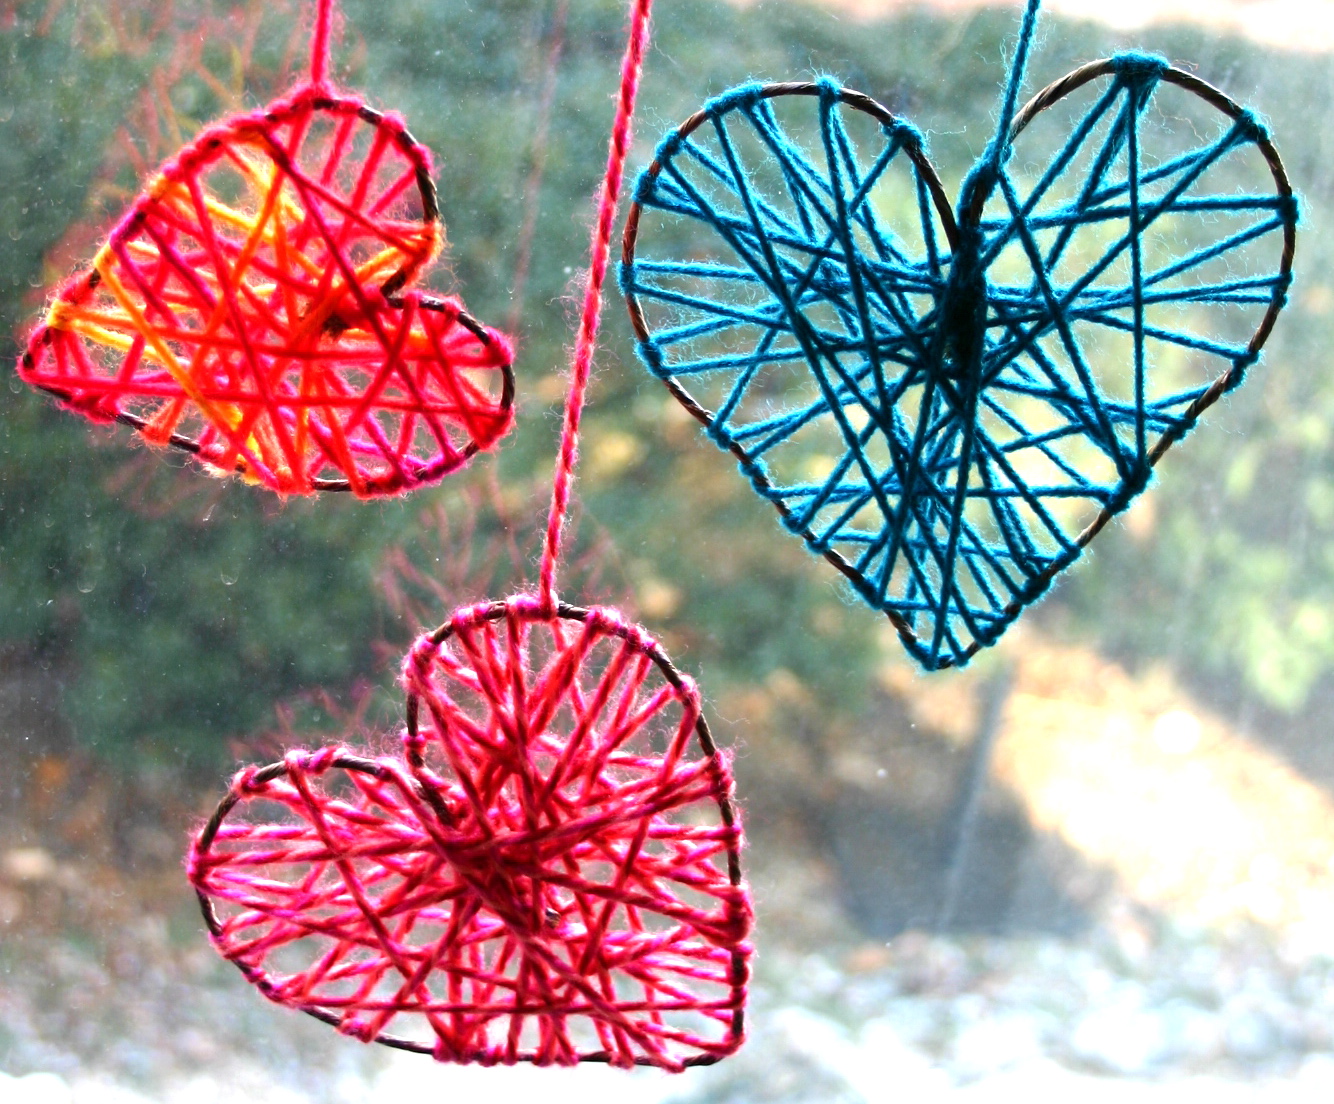


To make these you will need: rustic floral
wire (available in the floral section of any craft store – it's like
wire wrapped in craft paper), wire cutters, yarn and scissors.
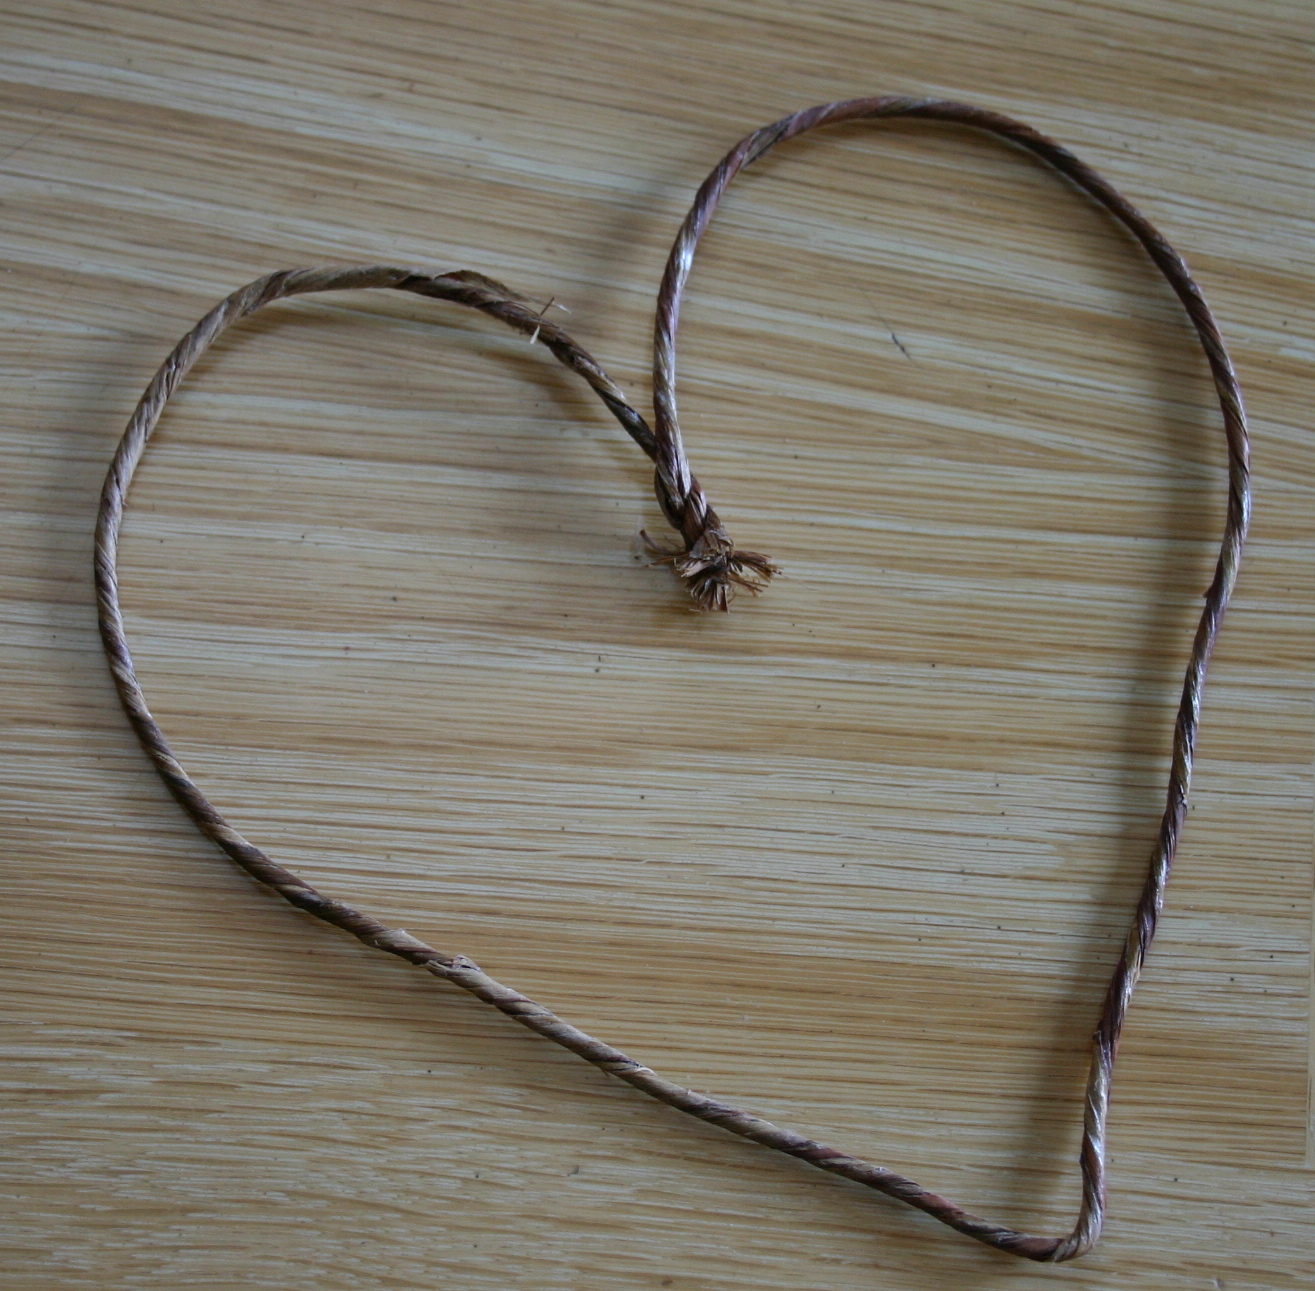
Clip off a length of floral wire and bend into a heart shape; twisting the ends together to secure.
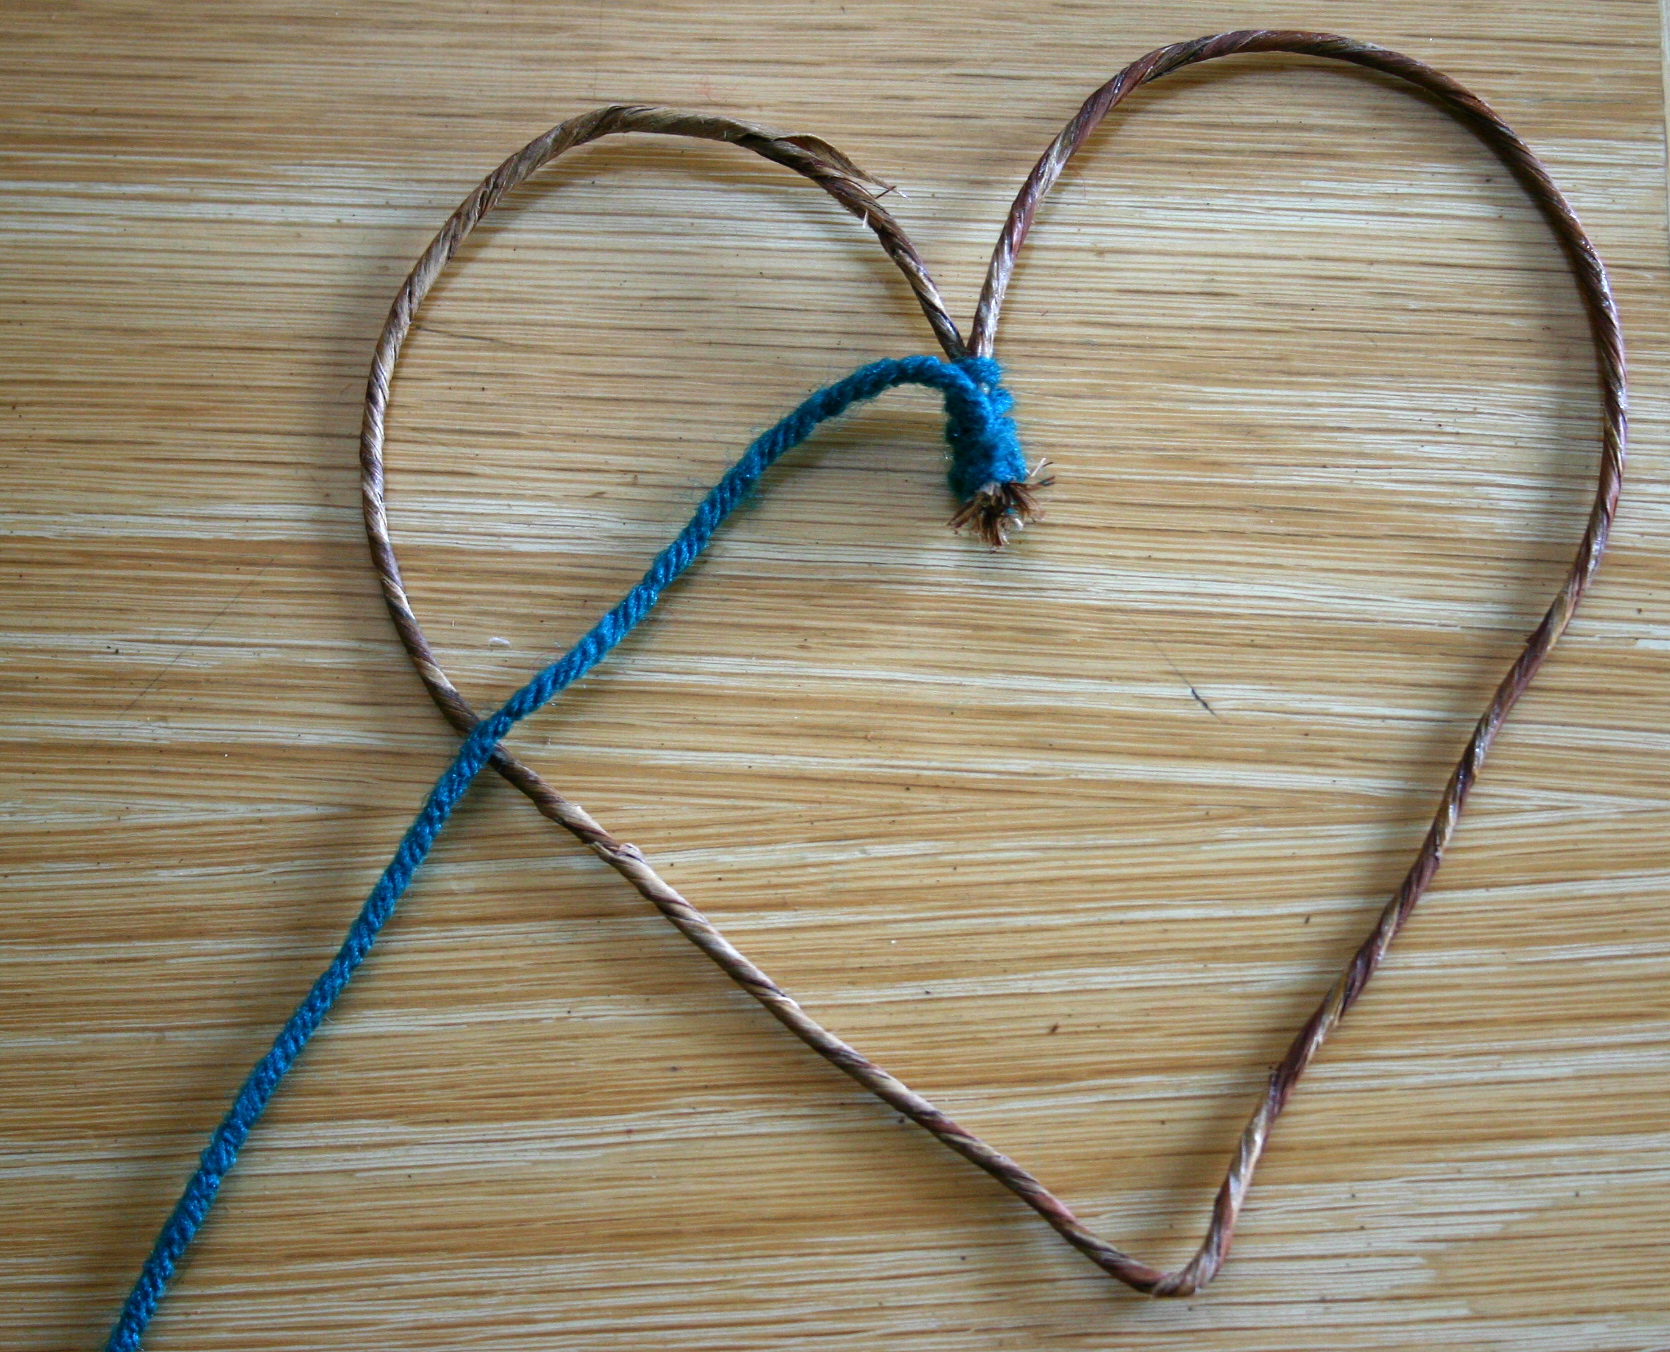
Tie yarn onto heart.
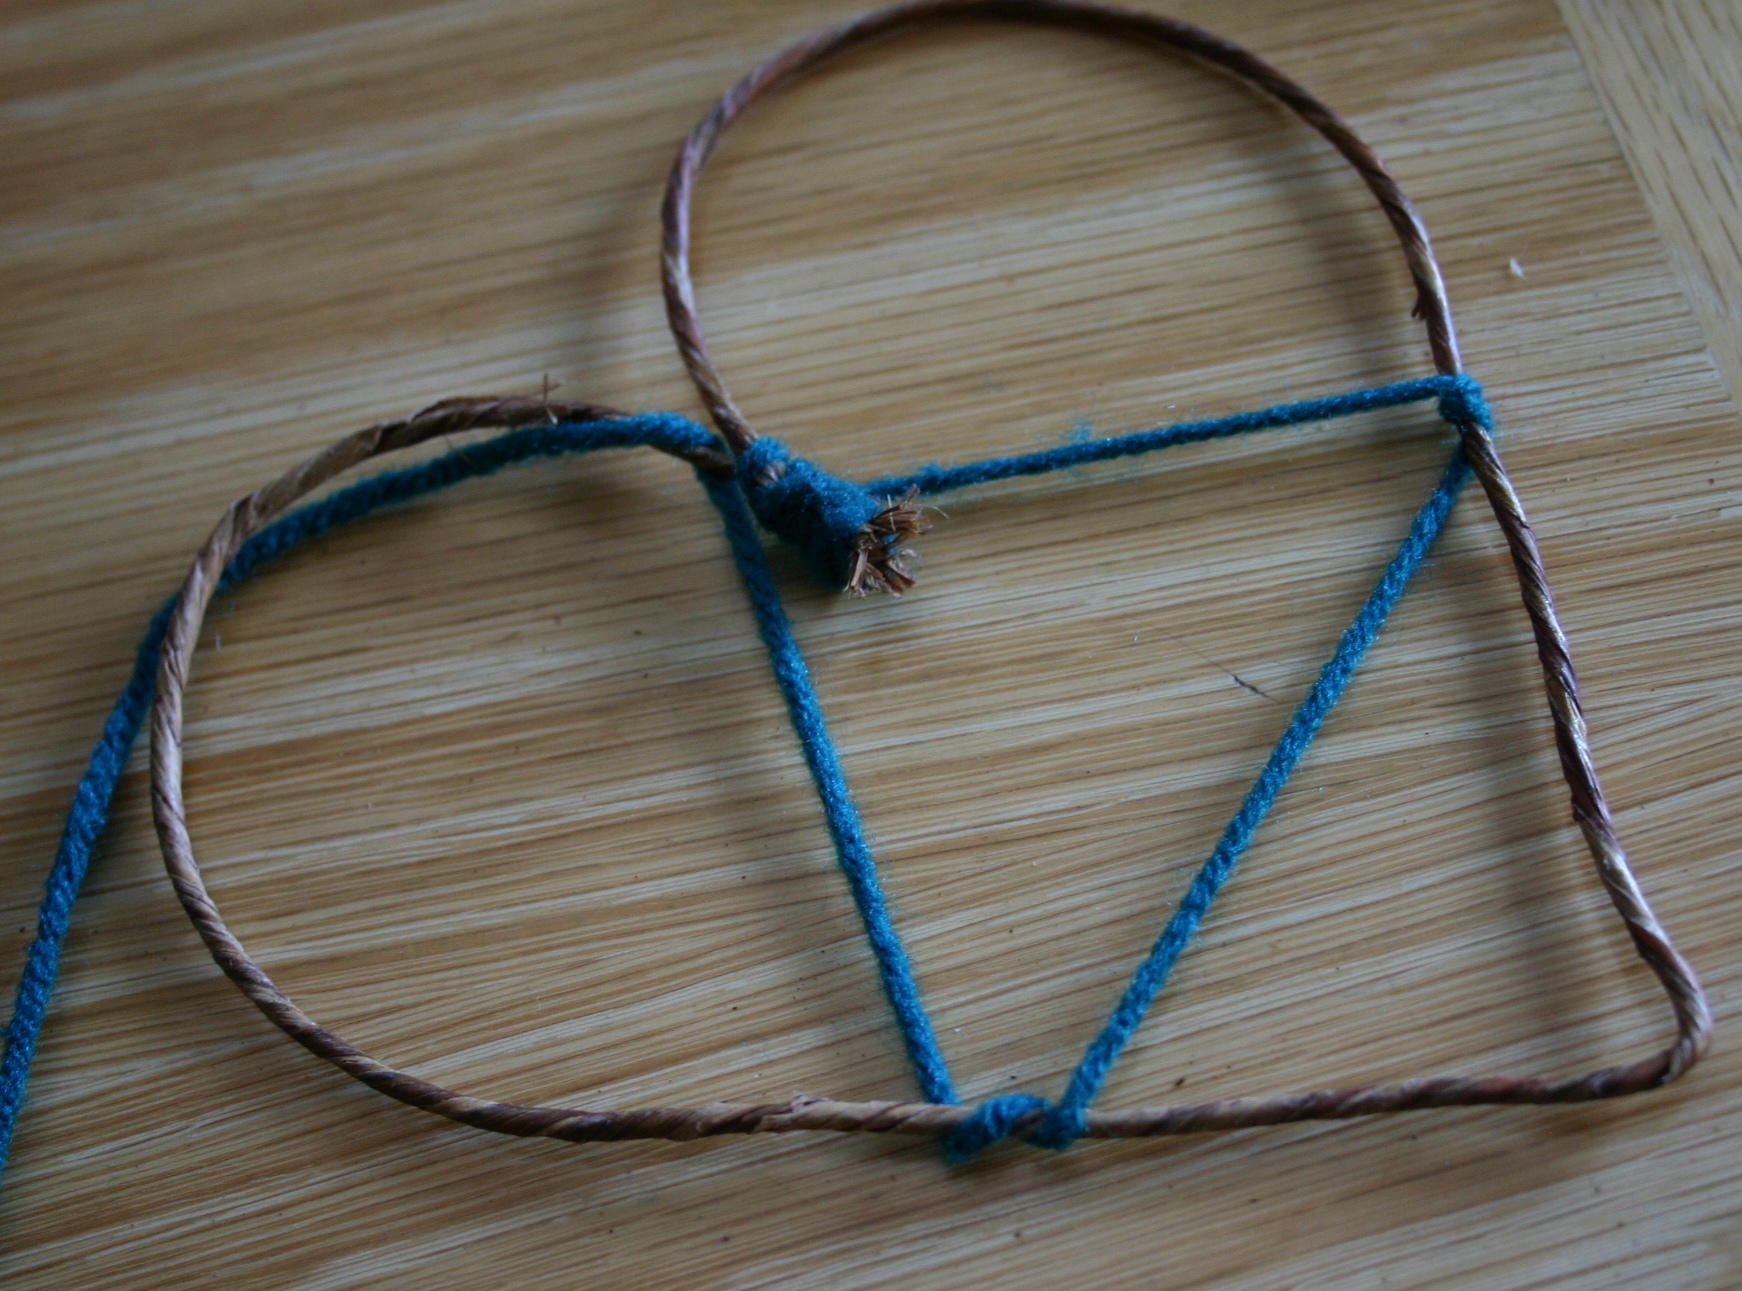
Pull yarn across heart, wrap around wire and pull yarn across to the other side.
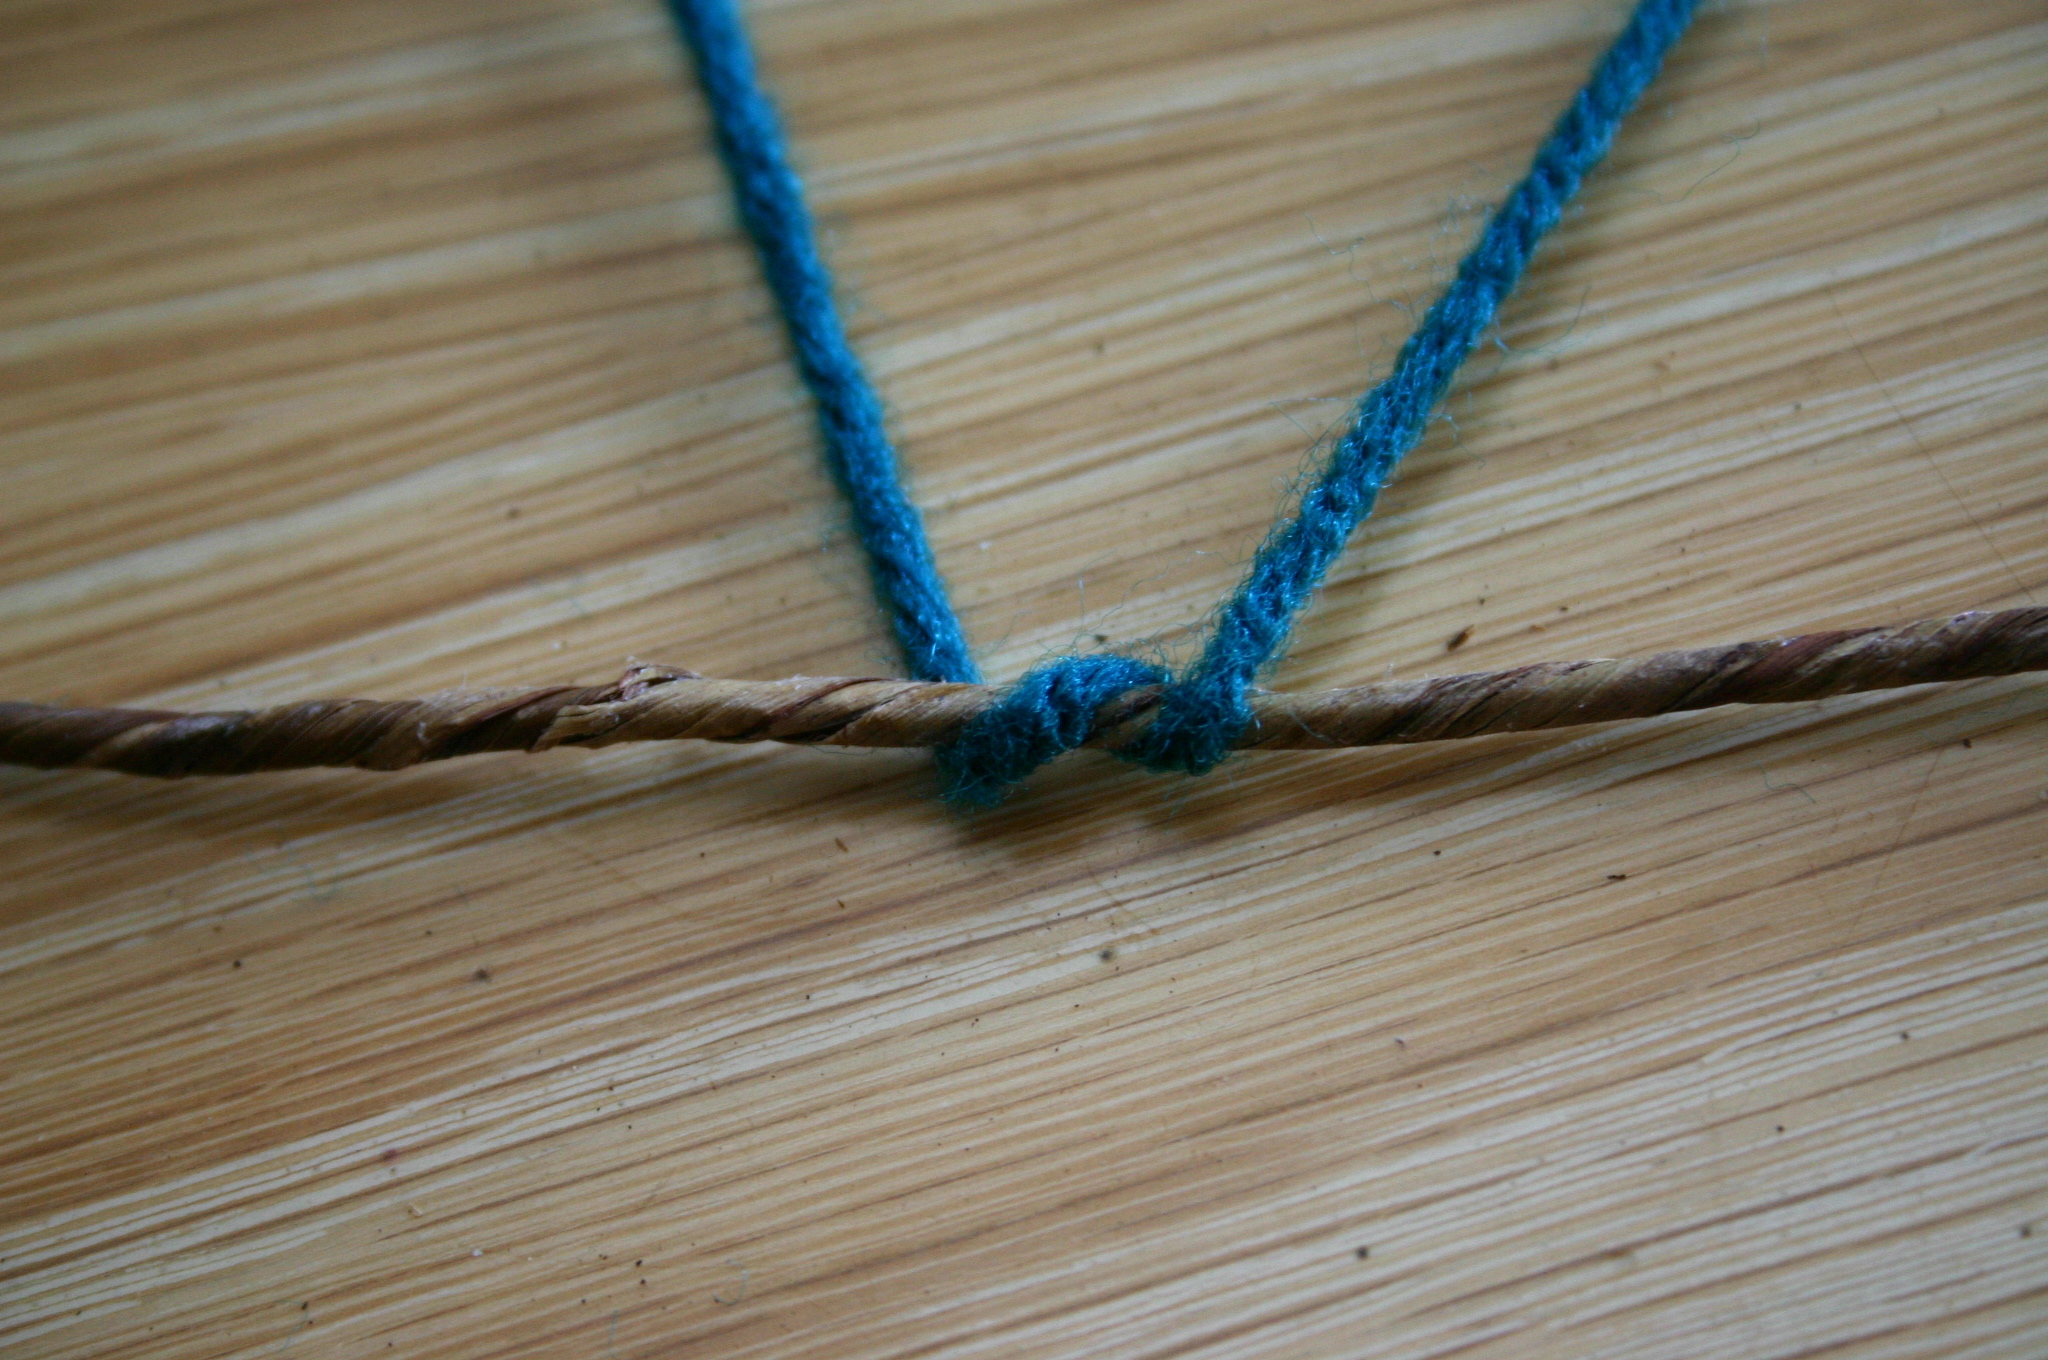
Wrap yarn securely so there is no slack.
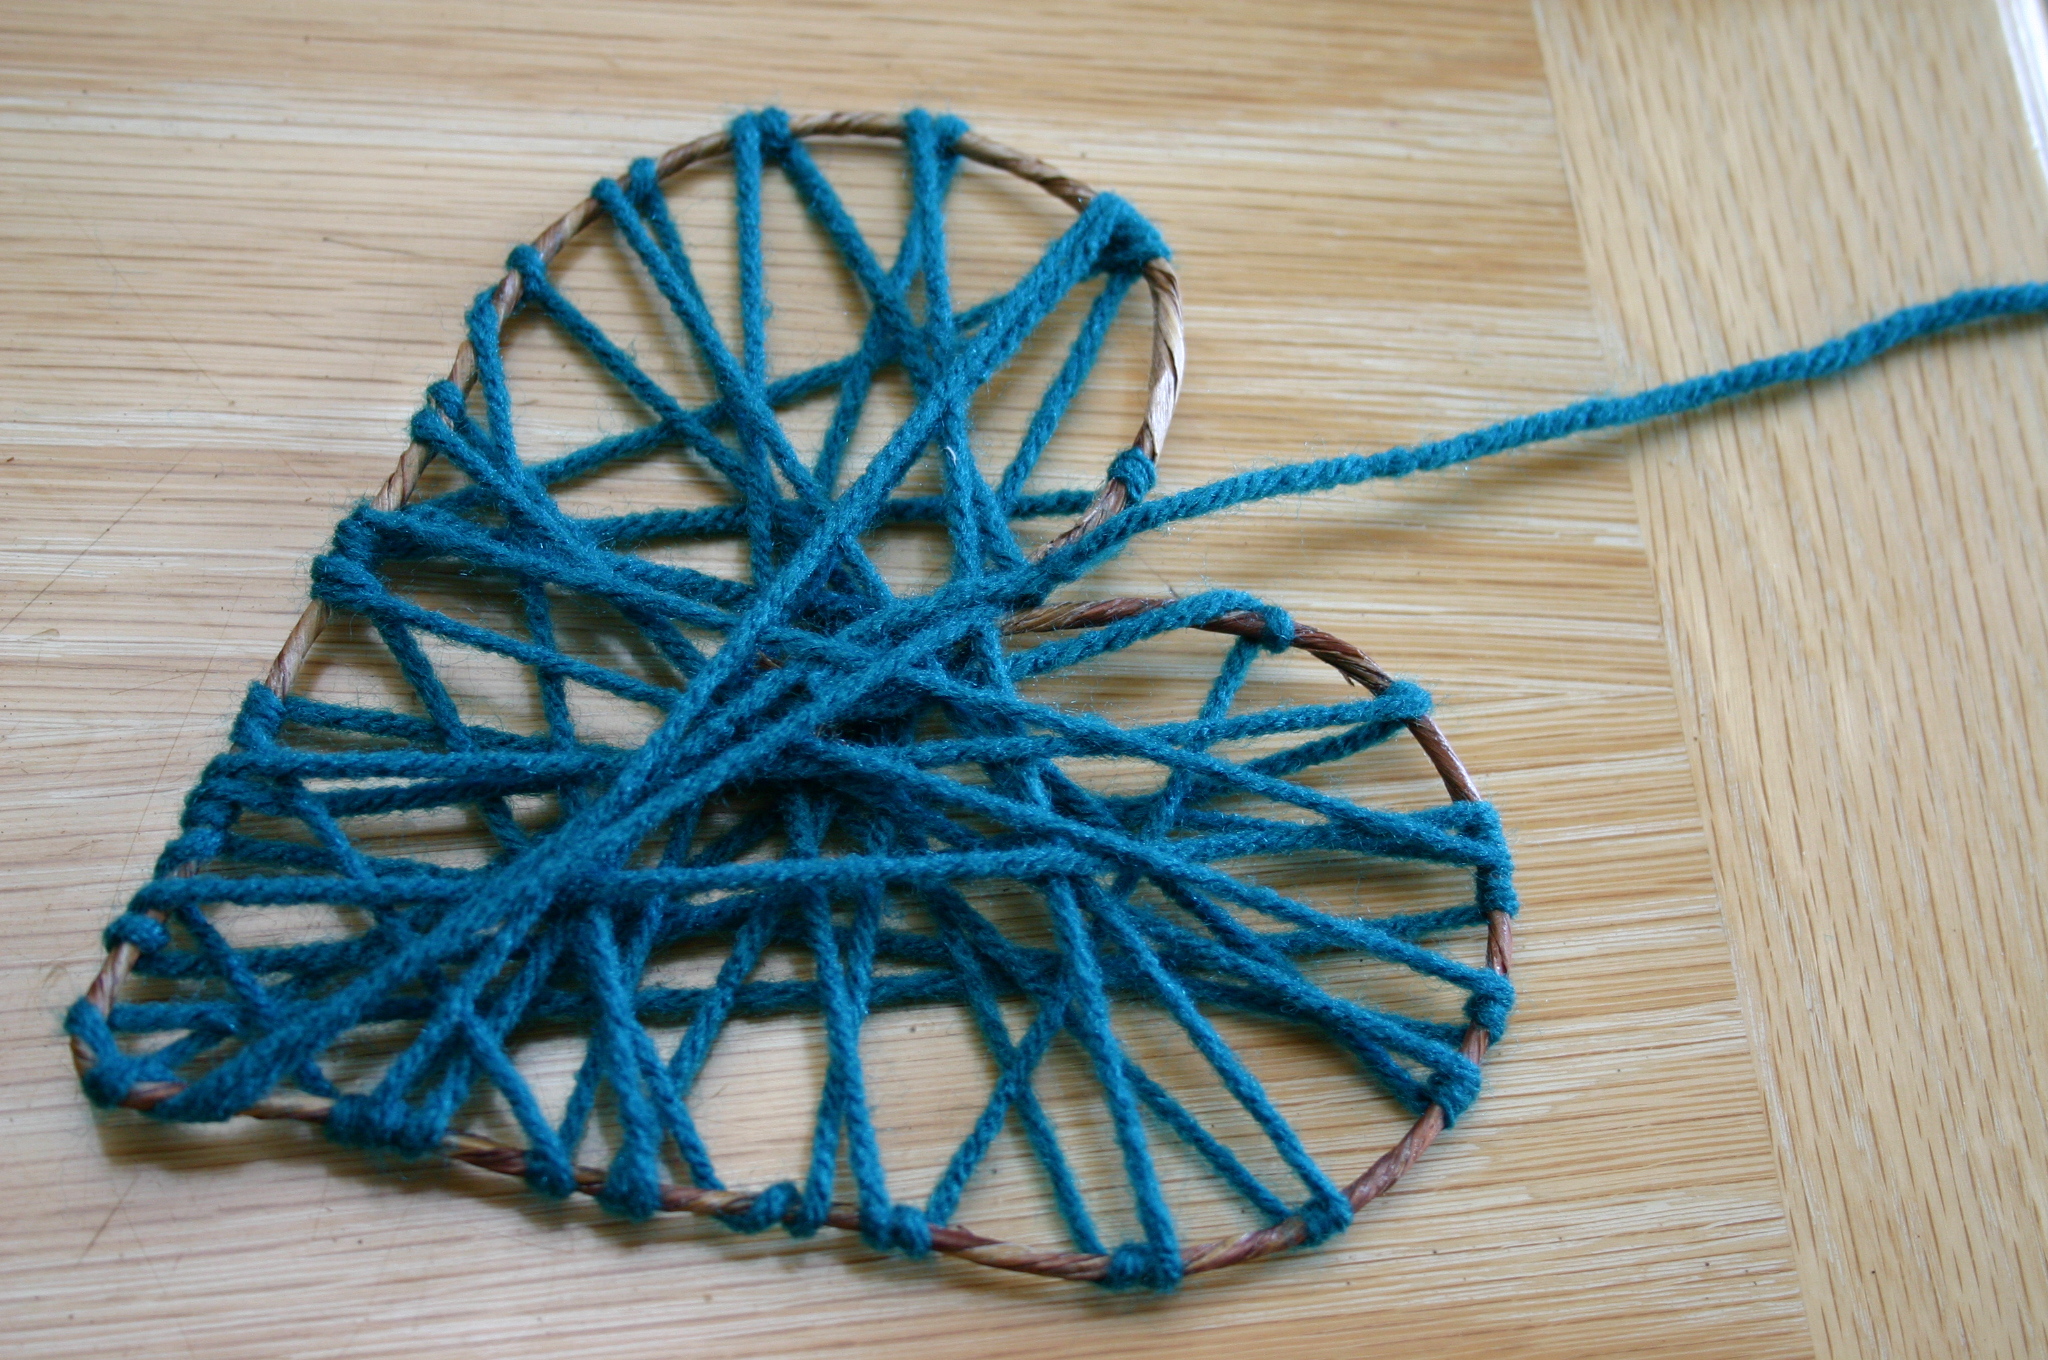
Tie a knot and cut yarn with enough length for hanging.
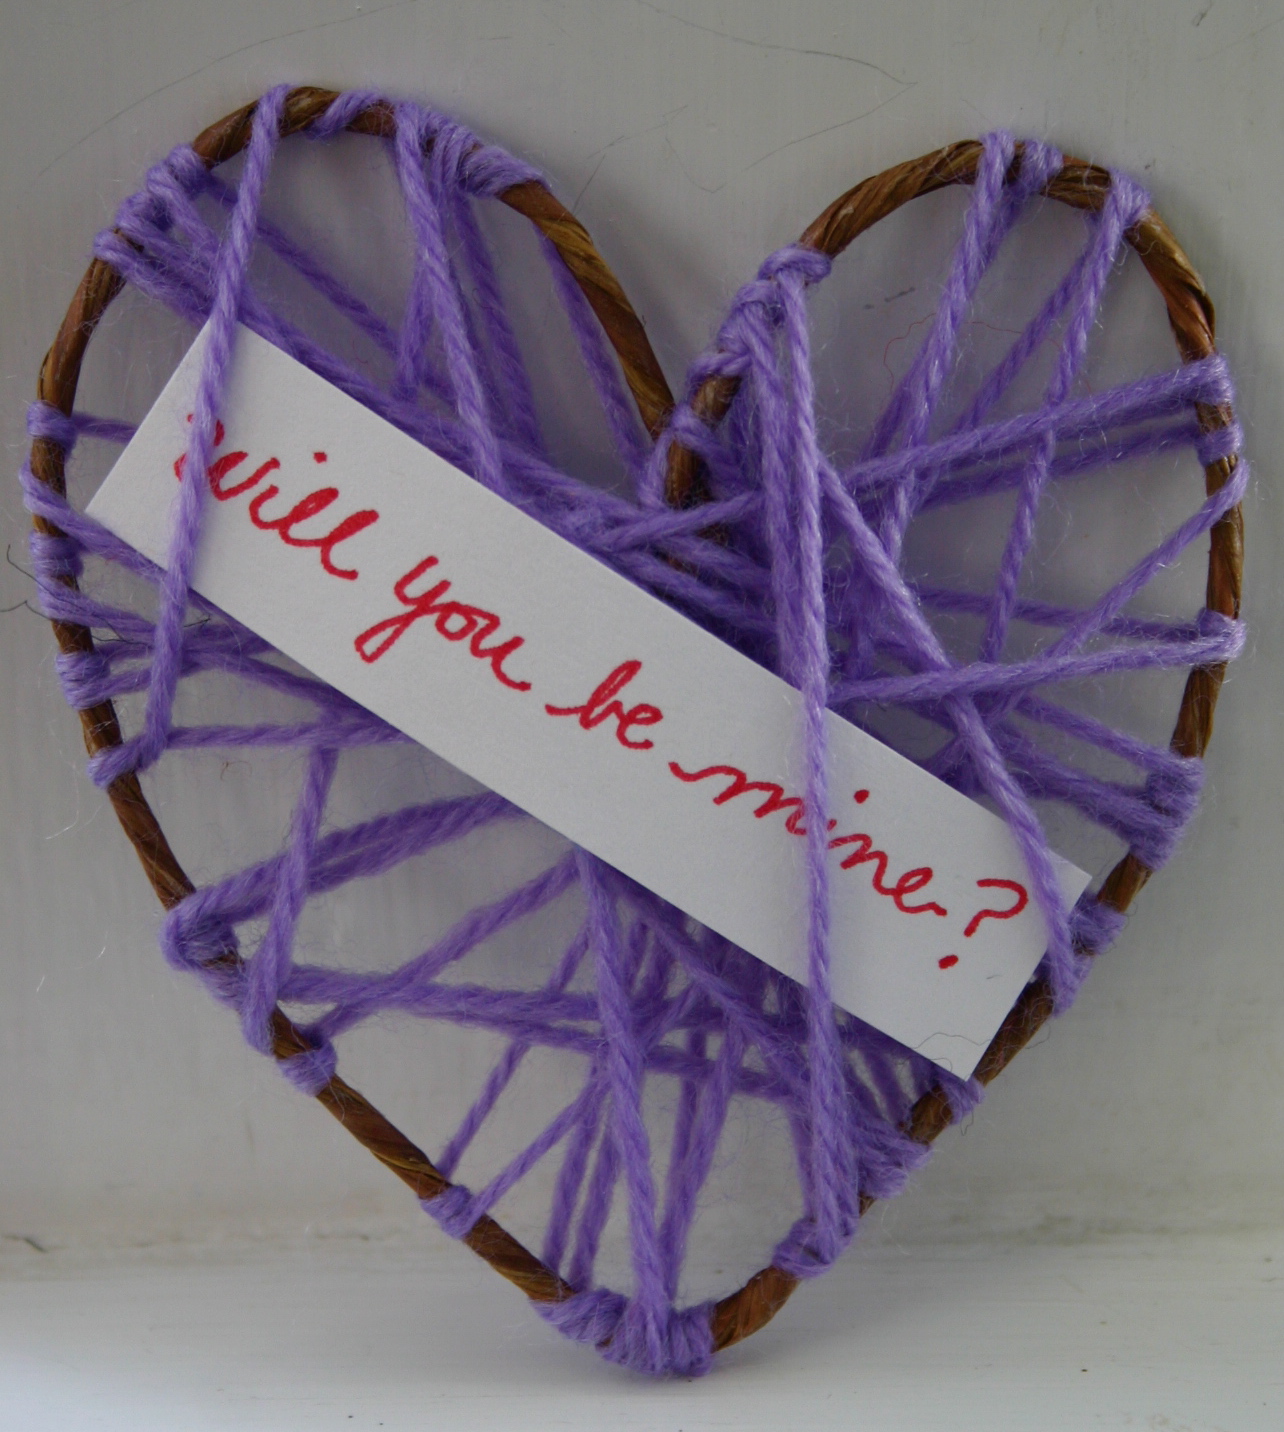
You could also tuck a note inside and give it as a valentine.

Foam Paint

For this project...
* Mix equal parts of shaving cream and Elmer's glue. The mixture dries puffy just like this.
* Use your fingers to spread the shaving cream mixture and create your snowmen on blue cardstock.
* Add cardstock pieces to form the eyes, nose, mouth, hat, and arms. (I used ribbon for the scarf.)

Salt Dough
Salt Dough! Nothing other than:
1 cup flour
1/2 cup salt
1/2 cup water
 After
mixing up the dough I rolled it out to a thickness I was happy with.
These hearts were cut out by hand with a butter knife. Then further
shaped by hand. I wanted a little of a wonky shaped heart with an
uneven surface. Don't forget to make a hole for hanging.
After
mixing up the dough I rolled it out to a thickness I was happy with.
These hearts were cut out by hand with a butter knife. Then further
shaped by hand. I wanted a little of a wonky shaped heart with an
uneven surface. Don't forget to make a hole for hanging.
Place in your oven on the lowest setting to speed up the drying process. Check them frequently, drying time will depend on thickness. I let them dry further a few more days on the counter.
Once they are dry they can be sanded. I sanded them nice and smooth with a medium grit sand paper then a fine grit.
Spray painted them with Rustoleum Bright Coat Metallic Finish.
Once the silver paint was dry, I rubbed on black paint with a damp paper towel making sure to get all the nooks.
 Leather cording finishes them off.
Comparable to the likes of this one or this one, even this one. Just don't get it wet!
 We also made a heart shaped pen holder/paper weight!
Have fun.
1 cup flour
1/2 cup salt
1/2 cup water
 After
mixing up the dough I rolled it out to a thickness I was happy with.
These hearts were cut out by hand with a butter knife. Then further
shaped by hand. I wanted a little of a wonky shaped heart with an
uneven surface. Don't forget to make a hole for hanging.
After
mixing up the dough I rolled it out to a thickness I was happy with.
These hearts were cut out by hand with a butter knife. Then further
shaped by hand. I wanted a little of a wonky shaped heart with an
uneven surface. Don't forget to make a hole for hanging.Place in your oven on the lowest setting to speed up the drying process. Check them frequently, drying time will depend on thickness. I let them dry further a few more days on the counter.
Once they are dry they can be sanded. I sanded them nice and smooth with a medium grit sand paper then a fine grit.
Spray painted them with Rustoleum Bright Coat Metallic Finish.
Once the silver paint was dry, I rubbed on black paint with a damp paper towel making sure to get all the nooks.
 Leather cording finishes them off.
Comparable to the likes of this one or this one, even this one. Just don't get it wet!
 We also made a heart shaped pen holder/paper weight!
Have fun.
Ruffle Headband
 |
 |
| Supplies: Headband, matching sheer fabric (just a small scrap will do!), and scissors. |
 |
| Cut 20, 1"x4" fabric strips. |
 |
| Tie each strip in a knot onto the headband. |
 |
| Continue to tie the strips to the headband to create the "ruffle." I tied my knots down the side so the "ruffle" was on the side, rather than straight across the middle of the headband. |
 |
| My "ruffle" was about 4 inches long across one side of the headband. (Don't worry, it won't look so crazy when you're done!) |
 |
| Trim down the "ruffle" so it is all even. |
|
| There ya have it! How easy was that?! |
 |
| That is one easy summer hair-do! |
Page Corner Bookmark

What you’ll need:
- pretty paper of cardstock weight OR a combination of plain cardstock and pretty, decorated lighter weight paper
- scissors
- ruler
- mechanical pencil
- glue stick
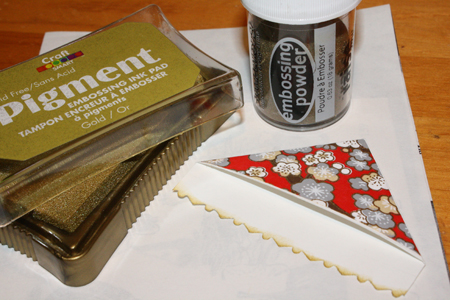
- [optional] other decorating tools, such as crayons, markers, stamps, stickers, ink pads, embossing powder, etc.
- page corner monster bookmark template number 3. under “Paper patterns and templates” (or you can make your own using the instructions below)
——————————————————————–
Putting it all together:Below, I’ll teach you how to make two similar-but-different types of corner bookmarks. The first is a square overlapped by a triangle , the second is a triangle overlapped by a smaller triangle.
If you are making your own template from scratch, follow all the steps below. If you’re using the PDF template linked to above, cut the pieces out and skip to step 5.
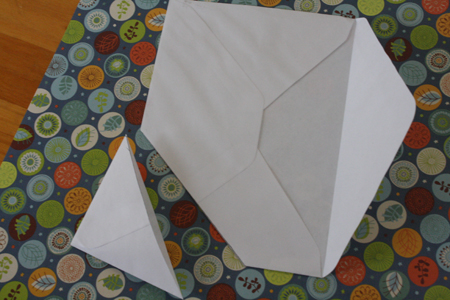
1) Ok, the very simplest thing to do is to cut a triangular piece off the corner of an envelope, and use that. Decorate it if you wish. If you want to get a bit more in depth, ignore the envelope method and move on to step 2.
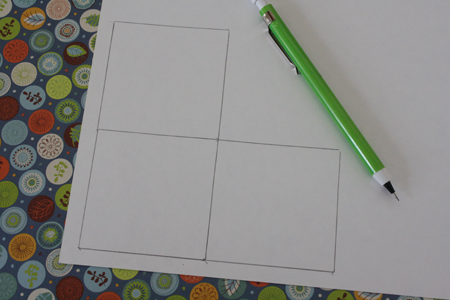
2) On a piece of plain scrap paper, draw a square. Use your ruler so its sides are perfectly straight. Don’t make it too big – mine measured 2.5 inches x 2.5 inches, though you could go larger than that. Draw second square exactly the same size on the right side of the first square (so they share a side) and a third square exactly the same size on the top of the first square. You should end up with 3 squares that compose an L shape.
3) Using your ruler, draw a diagonal line across the uppermost square, from its top right corner to its bottom left corner. Scribble out the upper left half (now a triangle) of the square, as you won’t be using that part.
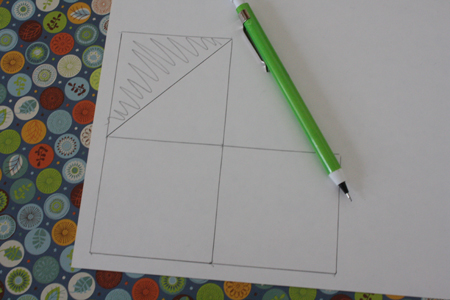
Next, draw a diagonal line across the bottom right square, from its top right corner to its bottom left corner. Scribble out the lower right half (now a triangle) of this square.
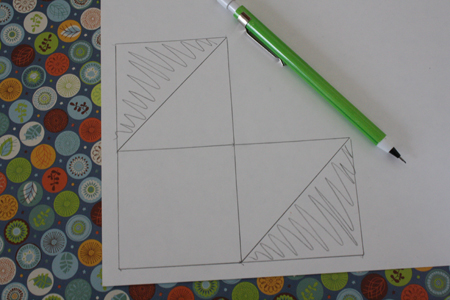
4) Cut out all parts of the entire shape that have not been scribbled out. This should be a square with two triangles attached to it, one on the top and one on the right. This is your template.
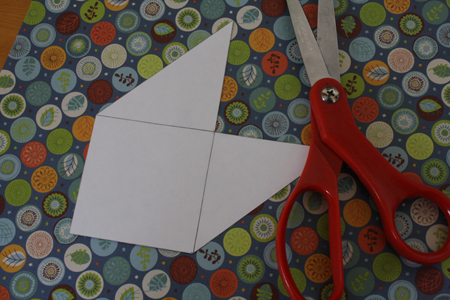
5) Trace your template onto your pretty piece of cardstock (or onto the plain piece of cardstock that you intend to decorate), and cut the shape out.
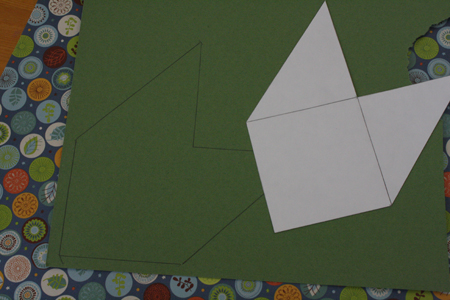
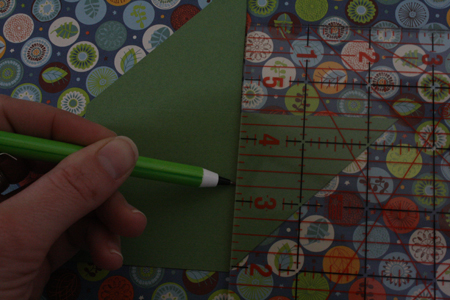
6) Using your ruler and the tip of your mechanical pencil with no lead showing, score a line (make an indent) along the edges of the square that connect to the two triangles.
- 6.5) [optional] Cut a square of pretty paper slightly smaller than the one you used for your template and glue it onto the square portion of your shape. I generally do this if the paper I’m using is quite plain.
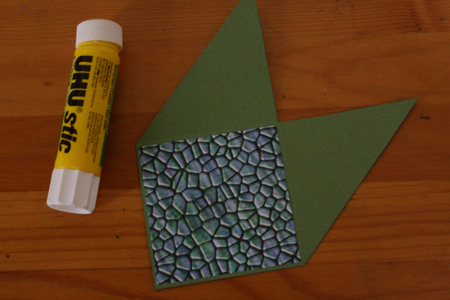
7) Fold one triangle inwards, so it covers the upper half of the square.
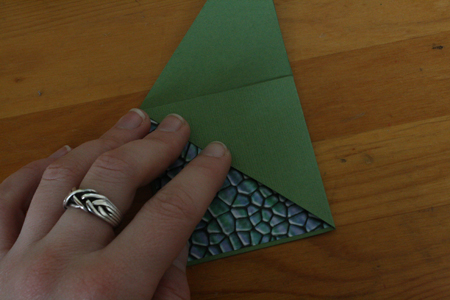
8) Apply glue to the underside (the side still facing up) of the second triangle, and fold it over onto the first triangle.
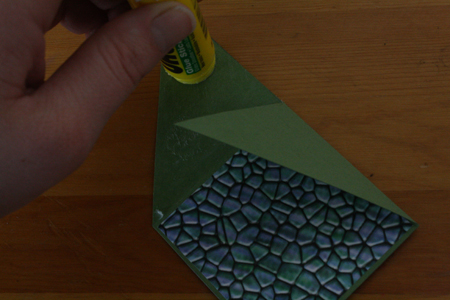
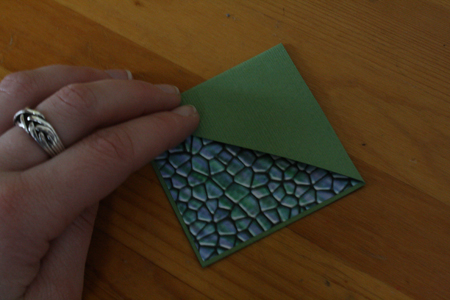
- 8.5) [optional] As in step 6.5, if you’ve used plain cardstock and want to glue fancy paper on top of it, cut out a triangle of the fancy paper that’s slightly smaller than the folded-over triangles of the bookmark. Glue the smaller triangle on top of the larger, folded-over ones.
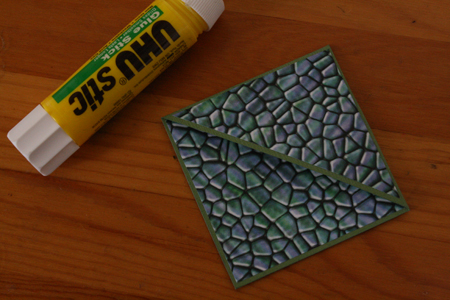
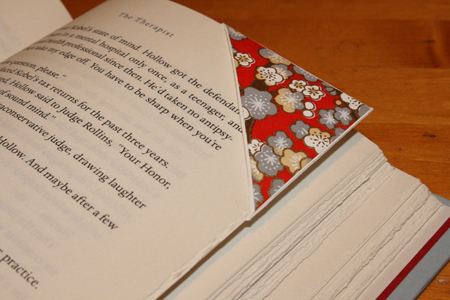
9) Add any decorations or illustrations you wish. Use by slipping over the corner of the page you wish to mark, like a pocket.
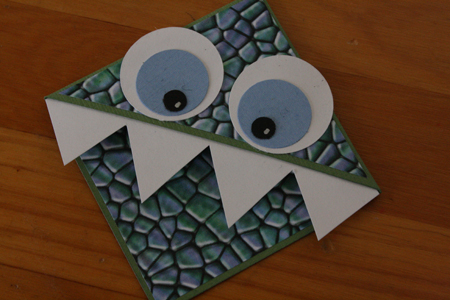
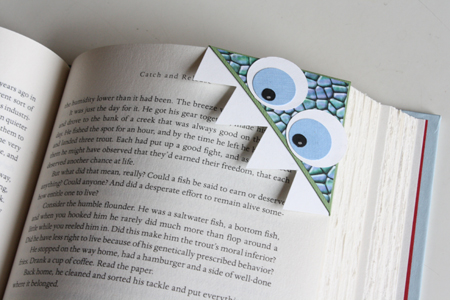
——————————————————————–
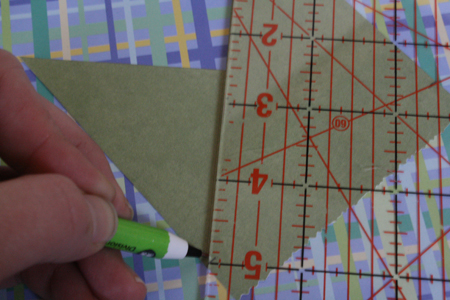
Now, here’s how to make a triangular bookmark, where the back is a triangle and not a square.1) Follow steps 2 and 3 from above.
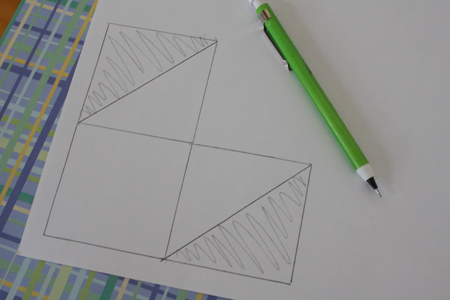
2) Use your ruler to draw a diagonal line across the remaining, center square, from its bottom right to its top left. Then draw another line, parallel to the one you just created but about 1/2 inch lower down. Erase the first line.
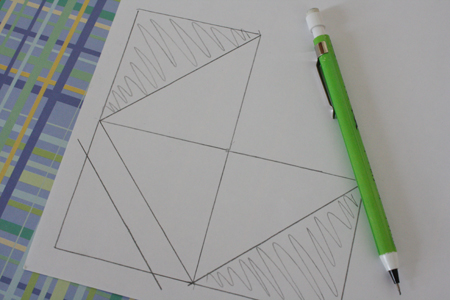
3) Extend the shape’s bottom line and the two side lines so that they meet up. You should now have a shape that looks like a castle flag: a rectangle with a triangular indent at one end.

4) Cut the shape out.
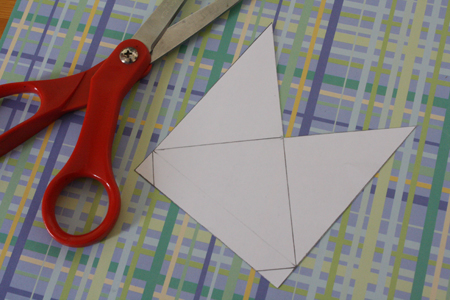
5) Trace the template onto your nice paper. Be sure to make a little mark on either side where the corners of the two outer triangles meet the inner triangle , and extend this mark onto the inside of your shape.
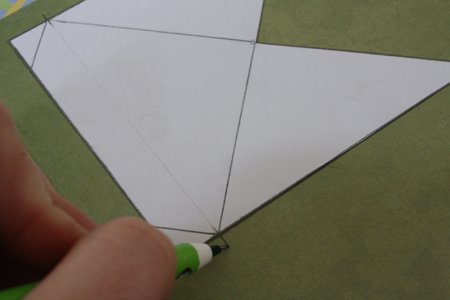
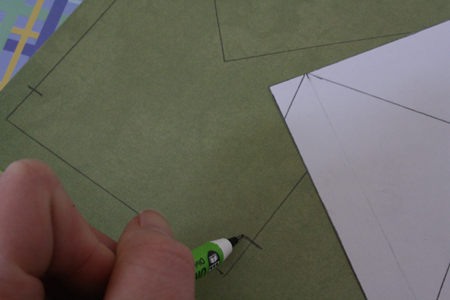
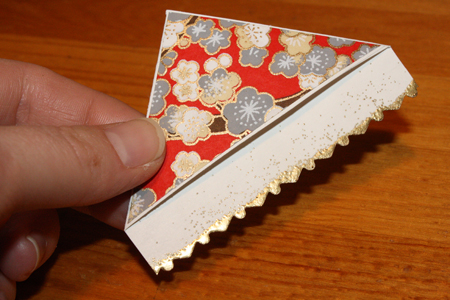
Cut the shape out. If you want a fancy bottom edge, cut that line with fancy scrapbooking scissors.
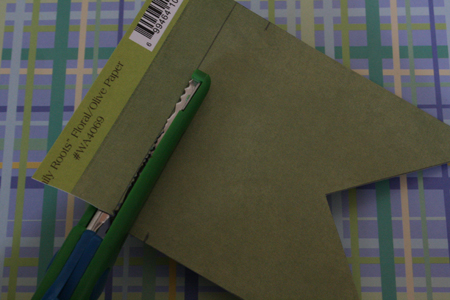
6) Now follow steps 7 – 11 from above, scoring along the appropriate lines, folding the two outer triangles in on top of each other, gluing them down and adding any fancy paper or other embellishments.
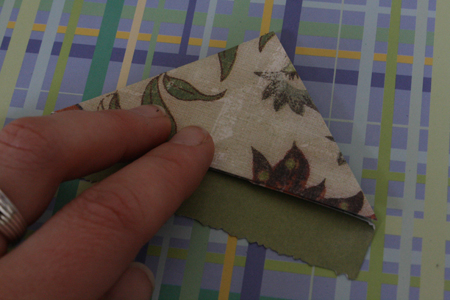
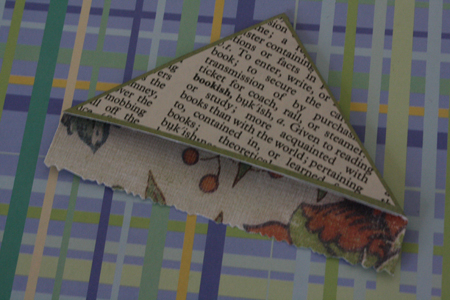
(I actually turned mine over at this point and folded it the other way, so the colours were switched. See below.)
Subscribe to:
Posts (Atom)