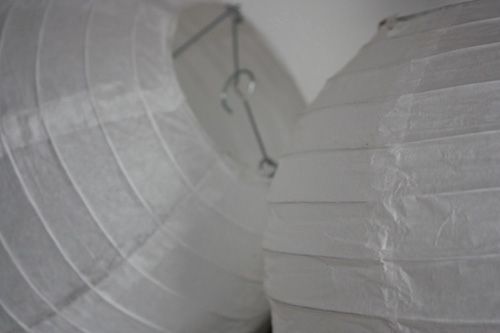
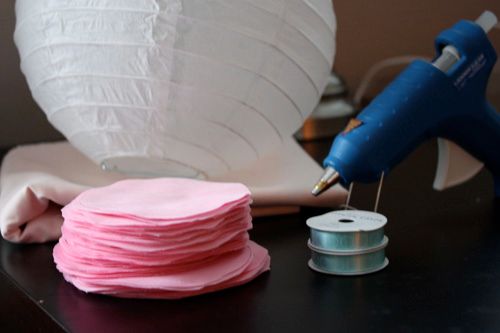
Materials needed:
- paper lanterns (I used one 9" and two 6" lanterns)
- 2-3 yards of fabric per lantern (I used 3yd for 9" and 2yd for 6")
- glue gun
- ribbon
- a long weekend
Before
I started, I printed out 3" and 4" circles and traced them onto
cardboard to cut out and use as my tracing template. Once I had my
fabric picked out I used my template to trace the circles along the
whole piece of fabric. I was sure to put them as close together as I
could so I didn't waste any fabric.
With
the 4" circles I was able to get 100 circles per yard and used a full 3
yards. Obviously you get more circles with the 3" template (but I
forgot to count), and also use just under 2 yards. This is where you
don't want to spend a ton of money on expensive fabric. You want
something light that won't be stiff when you glue or heavy when hung. I
used a basic thin cotton material that cost $3-7 per yard depending what
you chose. I lucked out that there was a sale going on at JoAnn Fabrics
along with a 25% off coupon I had, so I purchased my fabric for pretty
cheap.

Once
traced, I cut out all the circles. This is probably the most
time-consuming and somewhat boring part of the project. It's good to
just plop on the couch and stick in a movie while you do this. I watched
a Jersey Shore marathon while I traced and cut. (T-Shirt time!)
Once your circles are all cut you can begin to glue to your paper lantern. First
fold the circle in half, and stick a dab of glue in the middle. Fold it
in half once more to seal. Put another dab of glue at the bottom of the
folded circle and attach to your lantern.
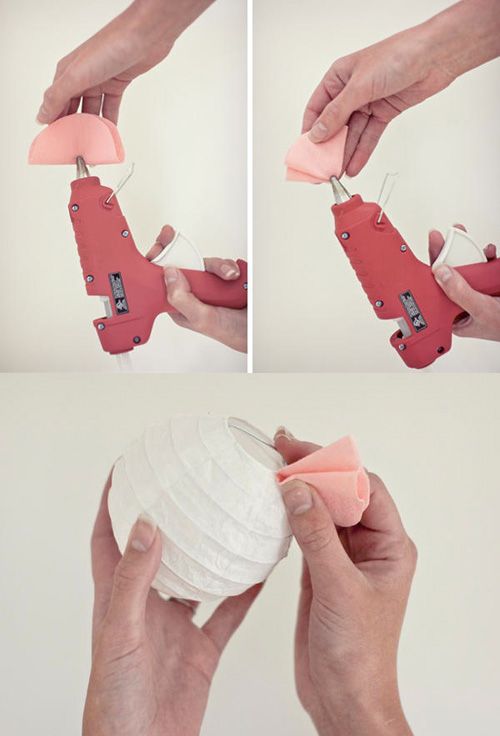
(these 3 pictures snagged from OnceWed since I had no free hands to photograph this step!)
You want to make sure you mix and match directions that you place the circles.
Continue this for a loooong time until your paper lantern is covered.
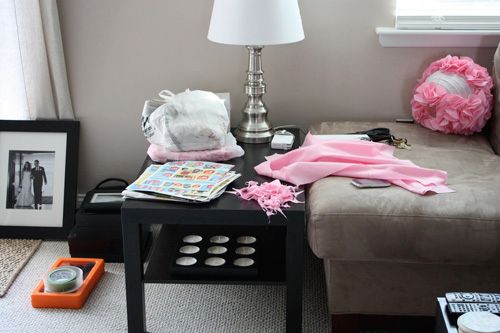
(my work area mid-construction)
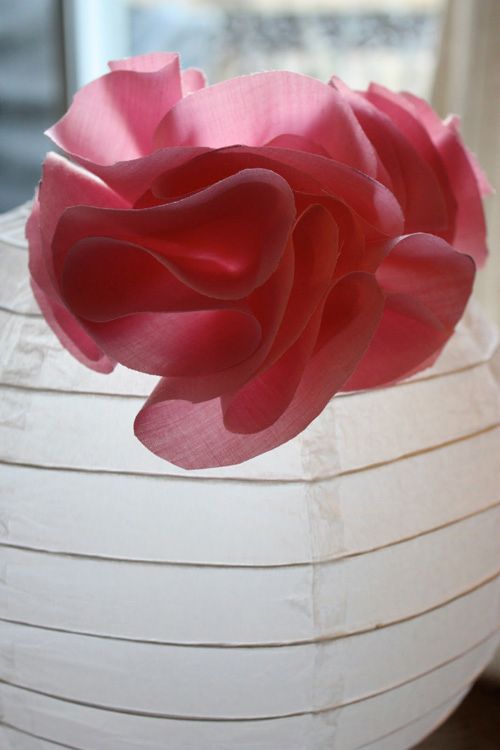
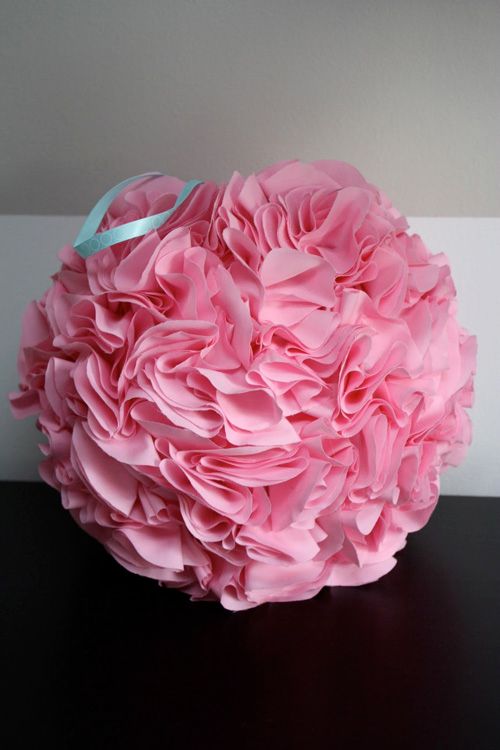
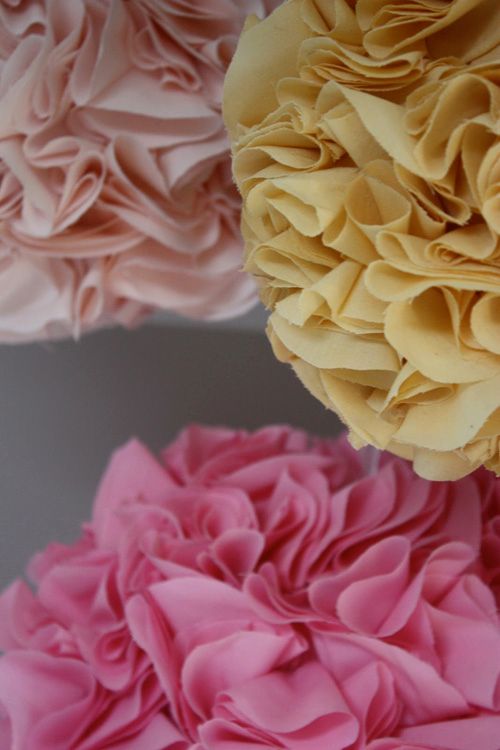
Once finished, it will look like this:
All
you have left to do is attach a long piece of ribbon to the hook inside
the top of the paper lantern and hang where you want. We picked up an
inexpensive pack of mini hooks from Target that simply screwed into the
ceiling. It took the two of us to tackle this step so that I could eye
the spacing of the pom poms and Jordan could screw them into the
ceiling.

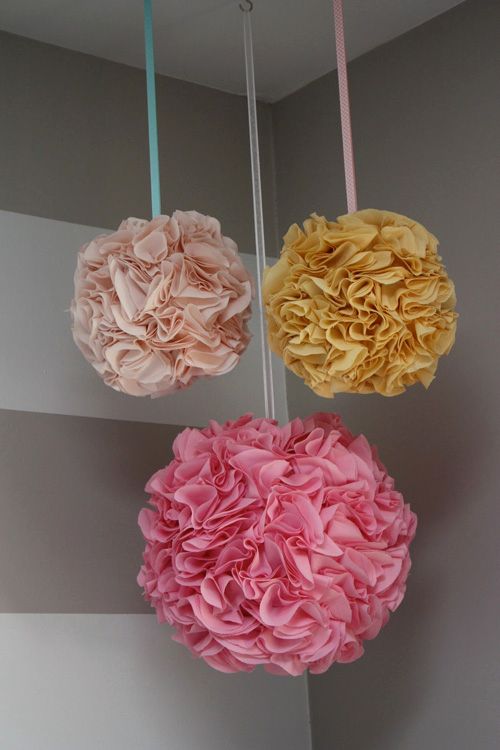
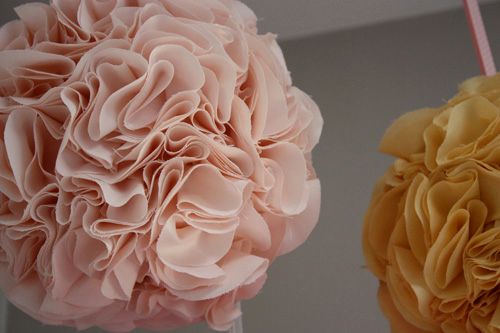
Here
is a close up on the ribbons I chose. They were each $1.00 for a mini
spool at JoAnn fabrics. It took about 1 full spool per pom-pom (then
trimmed for length). I chose teal, white and pink ribbons each with its
own unique decorative detail to mix and match with the multi-colored pom
poms.
Once hung, just sit back and enjoy your pretty, whimsical decor!


No comments:
Post a Comment