I chose the paisley allover stencil…it’s
kinda country, kinda modern, and I’m kinda in love with it. No, I’m
totally in love with it because these stencils are so easy to use. I’m
not just saying that because they sent me a free stencil and that’s the
nice thing to say…really, the whole top took me about ten minutes and
turned out perfect. All I did was lay the stencil on the table, secure
with a piece of tape, and apply the paint with a small foam roller.
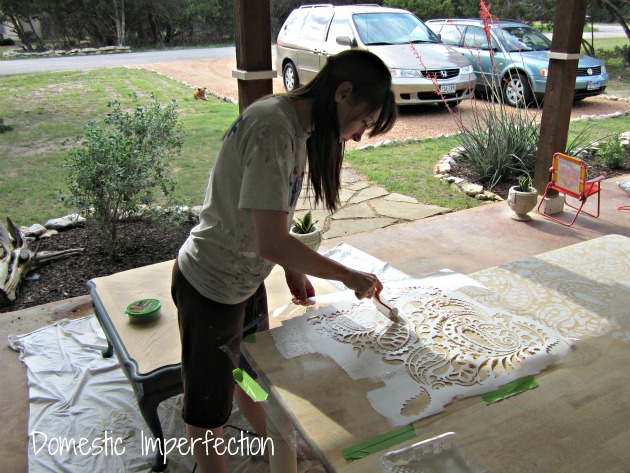
It didn’t bleed or smear or
anything…though I was really careful about not using too much paint.
After it dried (so like two minutes) I distressed it with my sander and
this is what I had.

I KNOW, I love it too. Stenciling by hand is for the birds.
Next I decided to stain over the stencil and give the table a more rustic look.
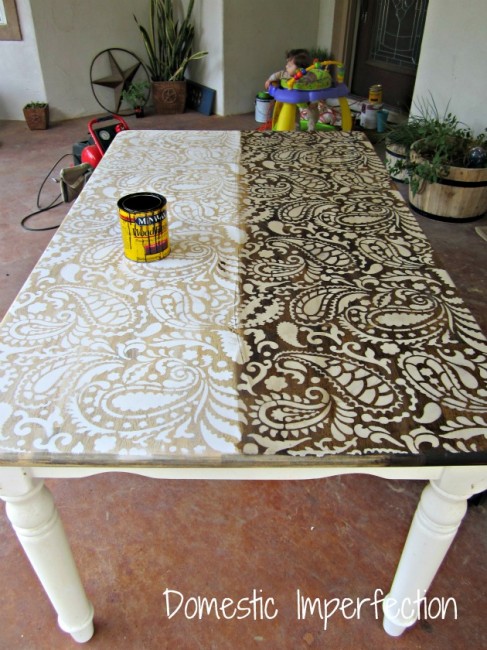
I used Dark Walnut by Minwax and applied
two coats. It darkened the white paint to an uneven tan and brought out
the wood grain underneath. It actually turned out just the way I wanted
it too in my head…love it when that happens.
(Please soak up the dying plants, messy porch and double fly swatter yielding toddler…it does’t get much more real than this!)
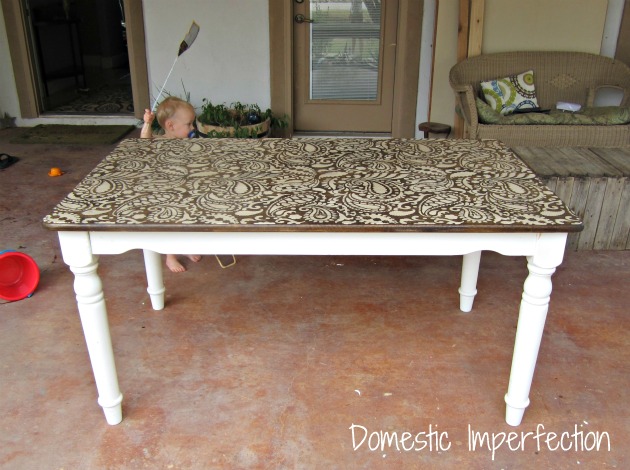
As I was admiring my work I couldn’t stop
looking at the legs. They just looked…blah. Boring, plain…bright. They
were ruining the awesomeness of the top.
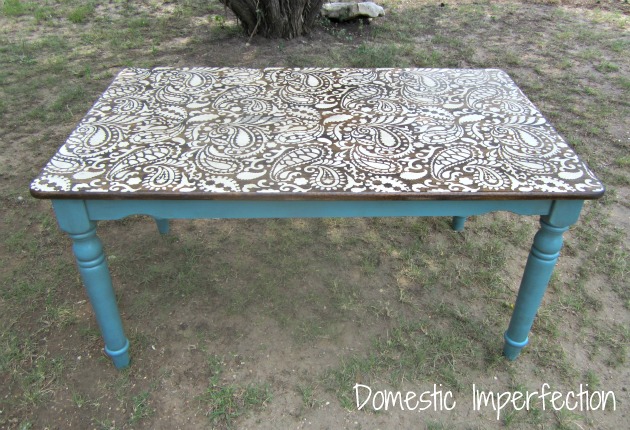
I decided to paint them turquoise and
give em the old “dirty cowboy” treatment. The dirty cowboy consists of
drybrushing dark stain over your painted surface, smearing, and sealing.
It just makes it look like dirty cowboy furniture…and yes, I made it up
:) (I’ll make a tutorial for the process and post it next. UPDATE -see
the tutorial HERE)
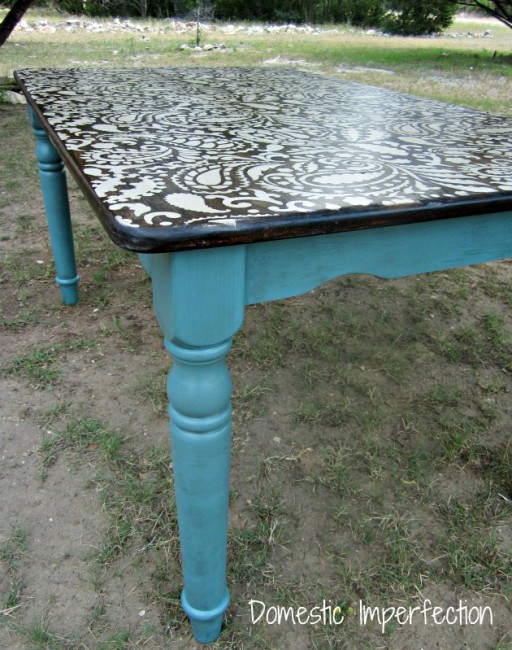
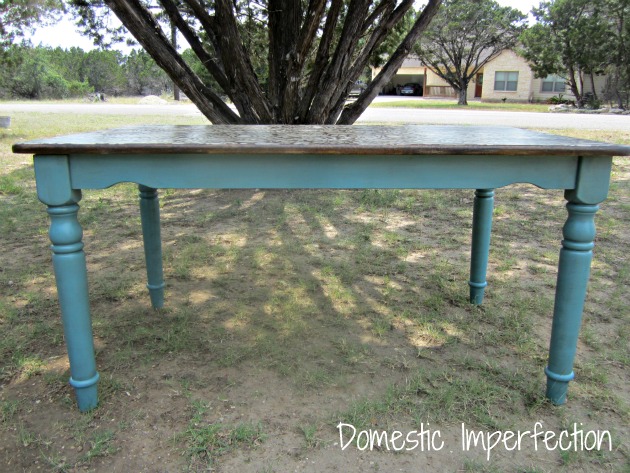
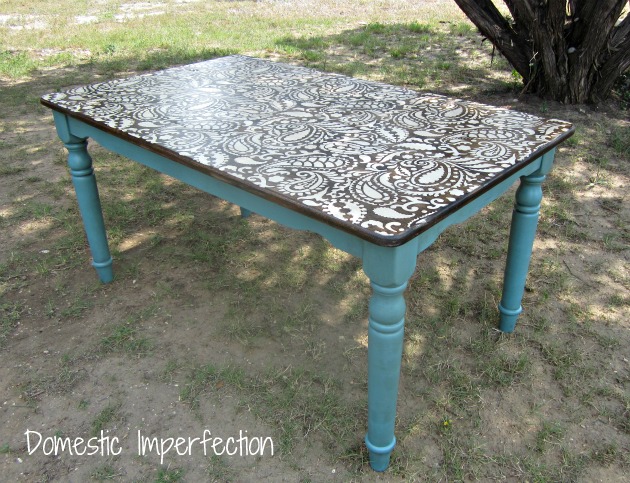
Here is the finished table!
No comments:
Post a Comment