So, here's how it's done.
-
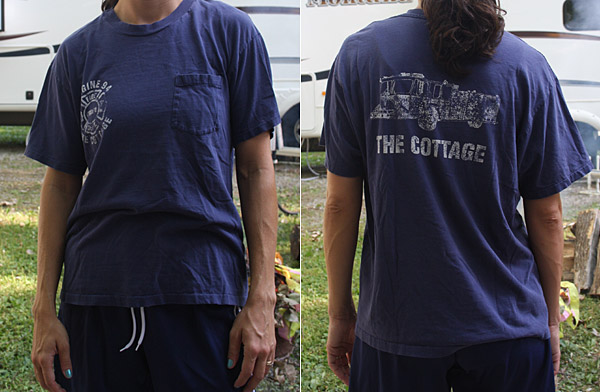
Start with a t-shirt you love that's just too big
-
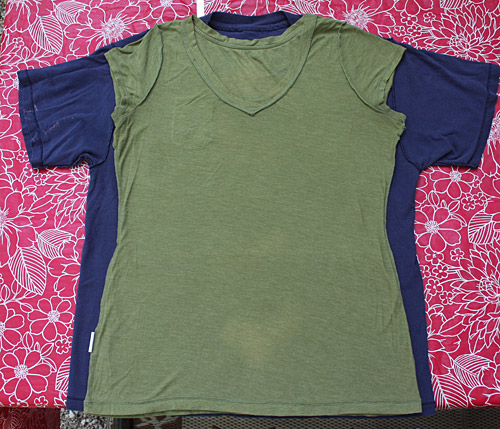
Turn the shirt inside out and lay a shirt that DOES fit you on top of
it, lining up the collars so that you can be sure it is centered over
your large t-shirt.
-
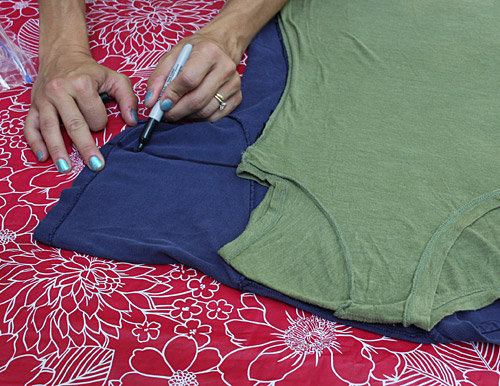
Trace the shirt that DOES fit you onto the large t-shirt. Turn both
shirts inside out so that you don't mark on the front of the shirts. I
used a sharpie, but you'd be better off to use a washable marker, chalk
or a fabric pen. When you do the sleeves, try to make your line
parallel to the top shoulder.
-
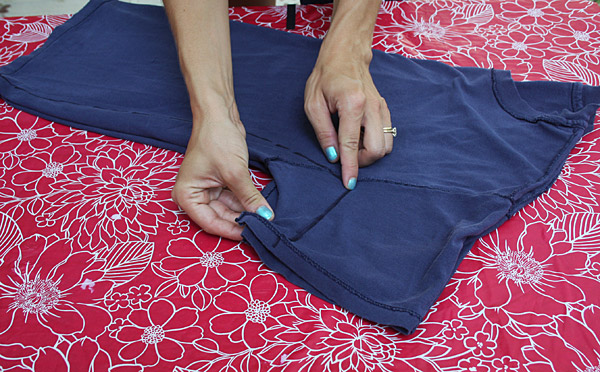
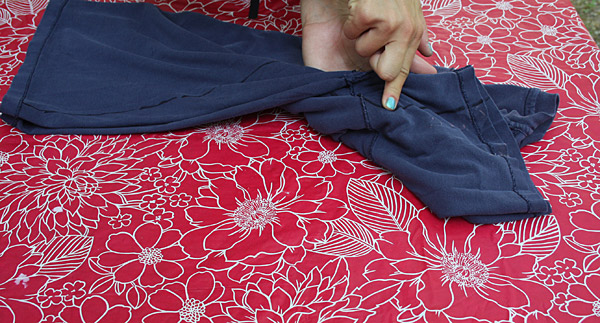
Next, fold the large t-shirt in half to make sure that the armpit
marks line up. Mine did match up, but if yours don't, you can just
re-mark them to match.
-
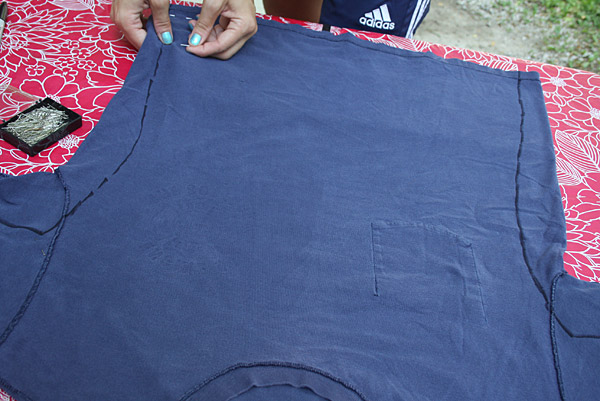
I went ahead and pinned the front and back of the shirt together, so that it didn't slip while we were sewing.
-
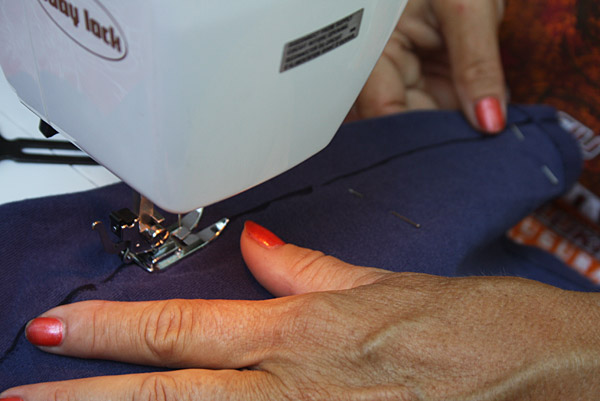
Sew along your traced lines. Or, in my case, have your MOM sew along the traced lines. :)
-
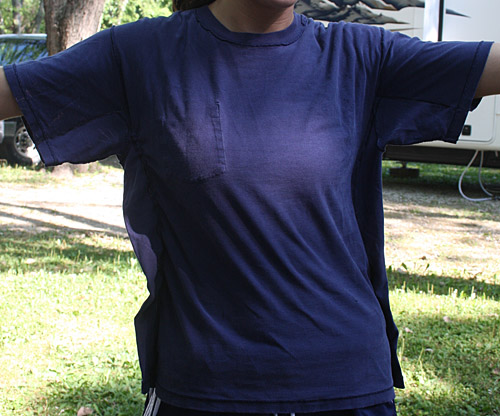
Try on your shirt (inside out) to see how it fits. Mine was still a
little big, so we sewed it up again about a 1/4" more on each side.
Then it looked like this:
-
If you like the fit, then you can trim off the excess fabric.
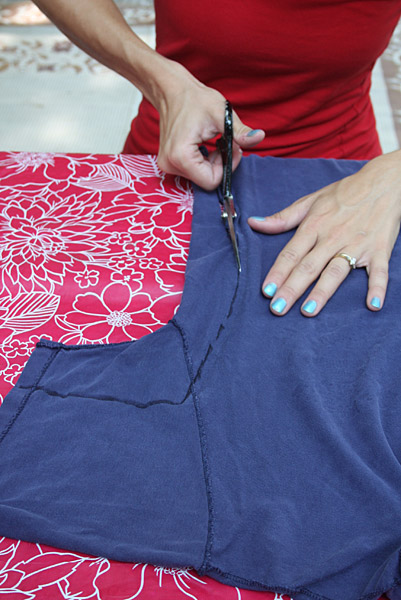
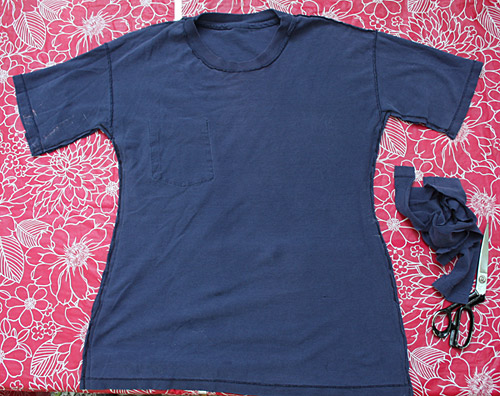
-
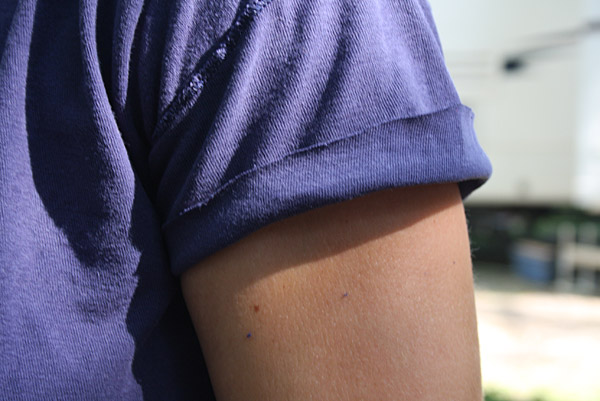
Turn the shirt right-side out and try it on. You can leave it as is,
with longer sleeves, or you can cut & hem them - which is what
I decided to do.
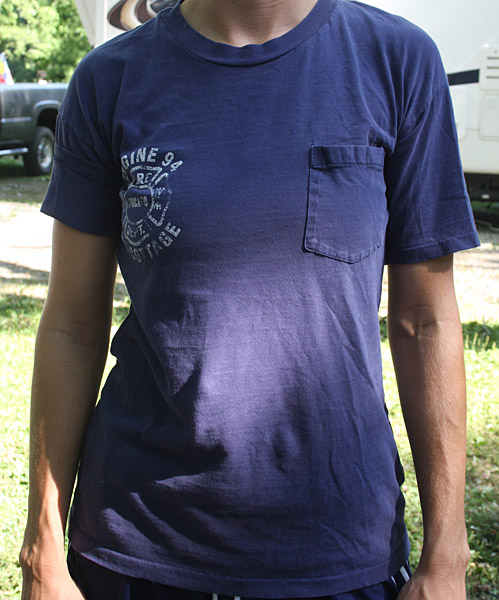
-
While I was wearing the shirt, I marked with a pin the length I wanted
the sleeves to be. Then I took it off, turned it inside out again and
drew a line. Okay, two lines, because I remembered that I wanted to
angle the sleeve a little bit. Then I cut about 5/8" past the line (to
allow for a hem).
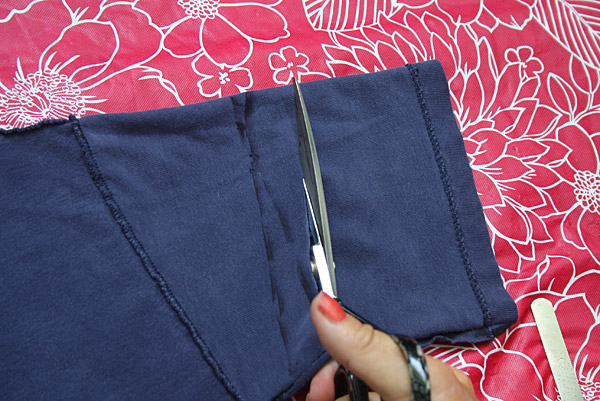
Try it on and make sure it looks the way you want it to look.
-
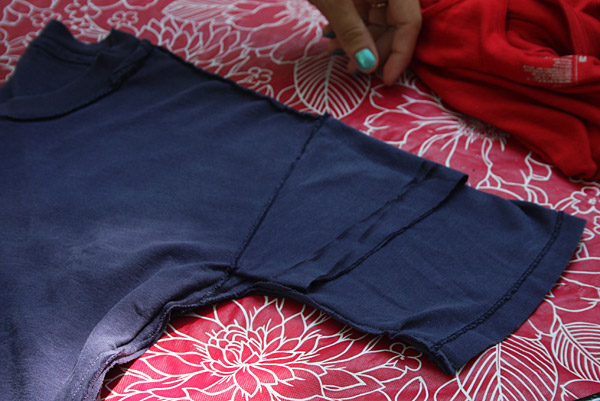
Fold the shirt in half and cut the other sleeve to match.
-
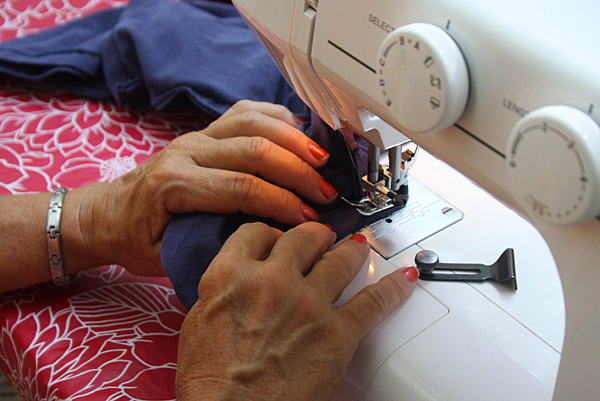
Hem both sleeves.
-
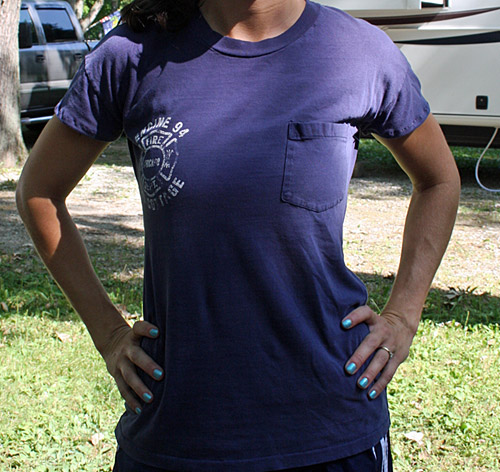
You're done! Try it on & love the new look - preferably with cute
jeans...not gym shorts and bright blue fingernails. :) But hey...we
don't all do our crafting while looking our best, right?
No comments:
Post a Comment